vuepress-theme-hope博客搭建
大约 2 分钟
vuepress-theme-hope博客搭建
一、安装
在当前项目的 [dir] 文件夹内创建 vuepress-theme-hope 项目:
这里的 [dir] 是一个参数,你需要使用真实的文件夹名称替换它,例如 docs、src 或其他你喜欢的名称。
npm create vuepress-theme-hope@next [dir]二、在本地启动服务器
npm run docs:devvuepress-theme-hope 会在http://localhost:8080启动一个热重载的开发服务器
六、部署上线
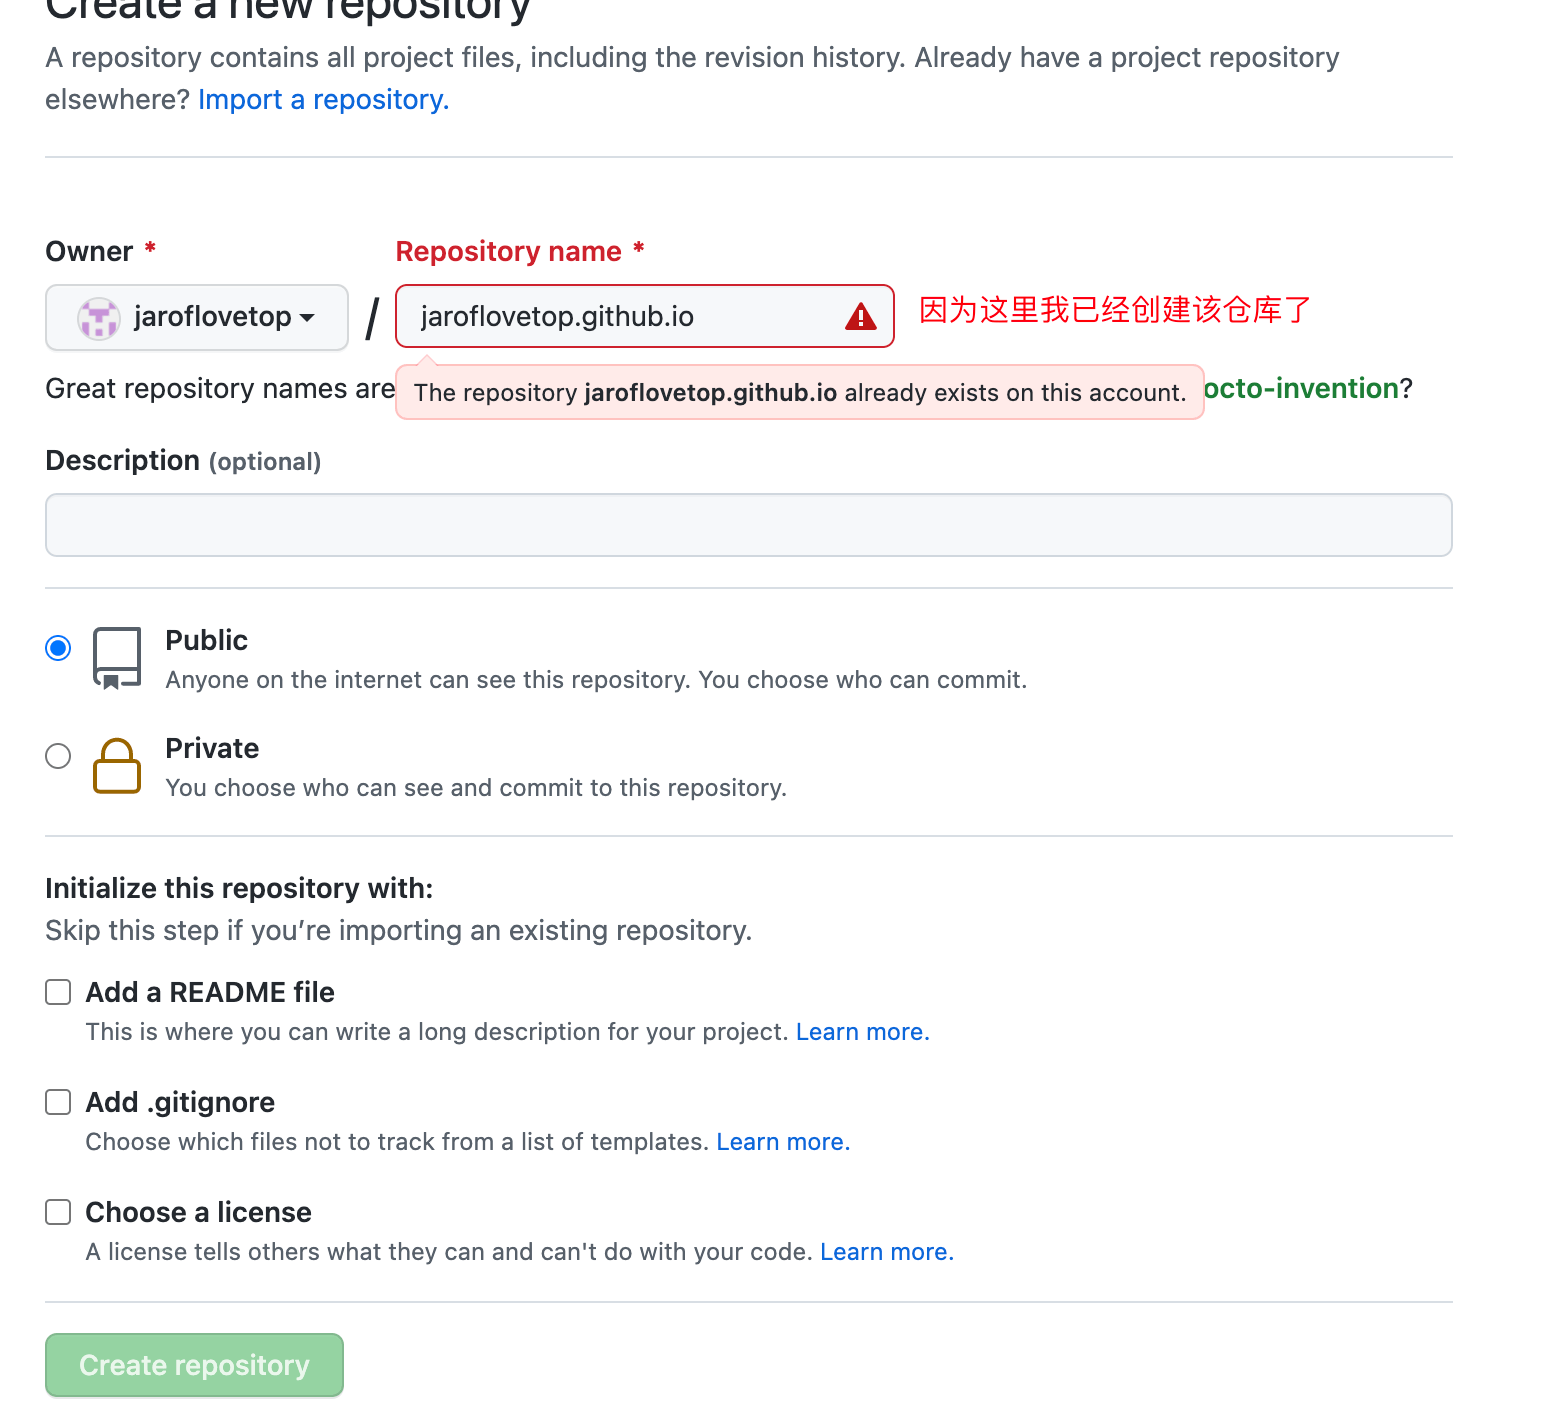
1、新建仓库一: USERNAME.github.io (不用克隆到本地)
注意! USERNAME 必须是你 Github 的账号名称,不是你的名字拼音,也不是你的非主流网名,不要瞎起,要保证和Github账号名一模一样!
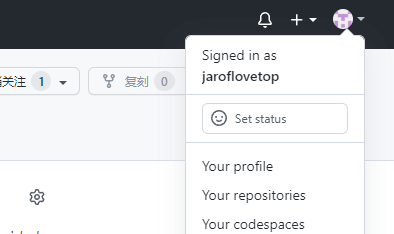
例如我的 Github 账号名称是 jaroflovetop
这个仓库建好后,不用克隆到本地,内容更新修改都在下面的仓库中进行
2、新建仓库二:随便起一个名字,比如:my_test_blog
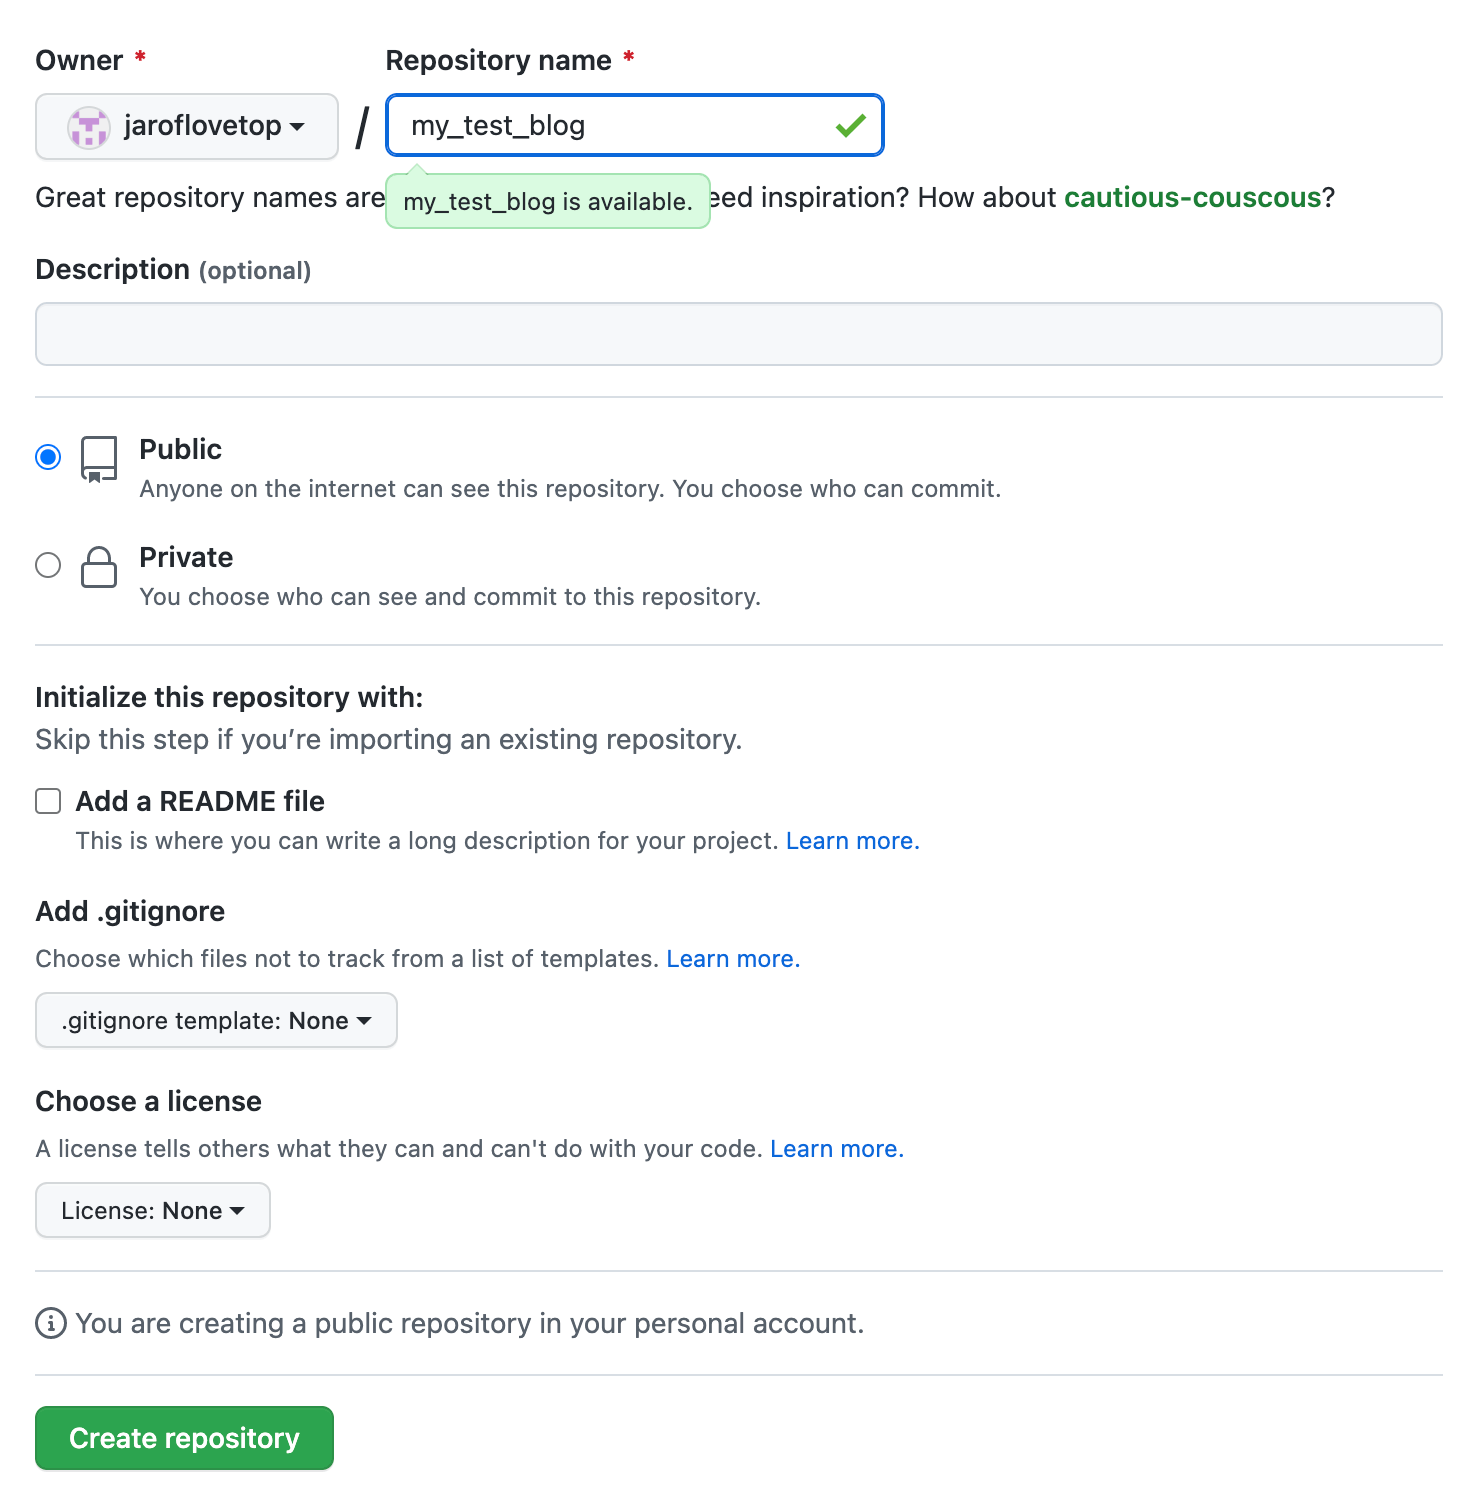
这个项目是用来开发博客的,仓库二创建好后进行第三步操作
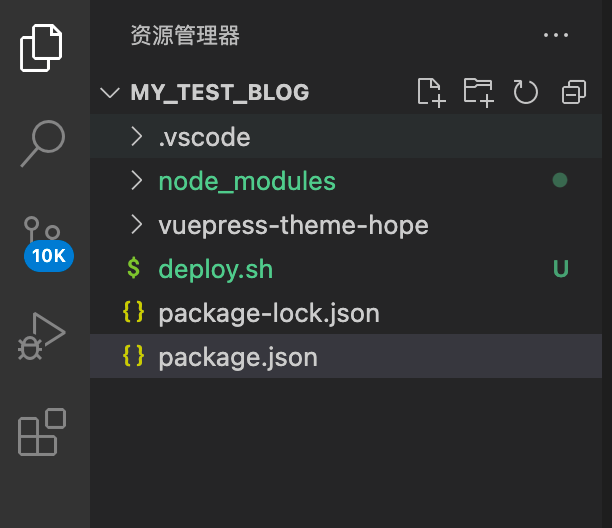
3、根目录下创建 deploy.sh 文件
#!/usr/bin/env sh

# 确保脚本抛出遇到的错误
set -e

git init
git add -A
git commit -m 'update docs'

# 如果发布到 https://USERNAME.github.io/<REPO>  REPO=github上的项目
 git push -f git@github.com:jaroflovetop/my_test_blog.git master

# 生成静态文件
npm run docs:build

# 进入生成的文件夹
cd vuepress-theme-hope/.vuepress/dist

# 如果是发布到自定义域名
# echo 'www.yourwebsite.com' > CNAME


git init
git add -A
git commit -m 'update docs'

# 如果你想要部署到 https://USERNAME.github.io
git push -f git@github.com:jaroflovetop/jaroflovetop.github.io.git master


cd -
部署网站把文件中的 USERNAME 改成 Github 账号名,例如我的账号名是 jaroflovetop,那么就可以改为:
# 如果你想要部署到 https://USERNAME.github.io
git push -f git@github.com:jaroflovetop/jaroflovetop.github.io.git master
部署提交项目把文件中的 USERNAME 改成 Github 账号名,例如我的账号名是 jaroflovetop,那么就可以改为:
# 如果发布到 https://USERNAME.github.io/<REPO>  REPO=github上的项目
git push -f git@github.com:jaroflovetop/my_test_blog.git master
这样仓库二和仓库一就建立了关联
在 package.json 文件夹中添加发布命令
"scripts": {
  "deploy": "bash deploy.sh"
}
运行发布命令,即可同时部署项目和上传项目github
yarn deploy 或 #npm run deploy